
The world of video editing is full of robust and beautiful colors — just like the world we live in every day.
But, if you’ve ever shot any footage on a smartphone (or perhaps a digital camera), you’ve probably noticed the colors you see in real life don’t always match up to what you’re seeing on your screen.
And while there’s a lot of reasons for this, any explanation into this phenomenon will cover a great deal of color editing theory — and in particular how color grading and color correction go into the process of digitally recreating the colors we see in real life.
But what are these two terms? And, more specifically, how can you use both color grading and color correction in your everyday film and video projects? Let’s answer all these questions in more detail in this complete guide to editing color in your videos.
In this article
Color grading vs color correction: what’s the difference?
So, let’s tackle the biggest question of them all first. What the heck is the difference between color grading and color correction? We’ll get into more of the technical and nuanced differences below, but for now let’s use this short differentiation…
Color correcting is the process of correcting (or fixing) colors in a video or a film as a way to get them back to what they should look like for your project. Color grading is the process of grading (or editing) colors in a video or film as a way to give them a stylistic look.
Pretty simple, right?
Great! Now let’s focus a bit more in depth into these two different techniques…

What is color correction?
Let’s start with color correction because… well… because color correction is usually done first. This is because raw footage tends to be oversaturated and the colors need to be balanced out.
And while there are several steps to the process of color correction, it’s important to clarify that the real end goal of color correction is simply to make sure footage looks exactly the way the human eye sees things. For example, if the white and black levels match what the human eye sees as white and black, then the rest of the colors should be balanced as a result as well.
However, if the footage you shot (or perhaps was given to you to edit) was very improperly balanced to begin with, the process can be quite tricky to complete without at least a little bit of expertise.
How to color correct in 5 steps
Here are the five basic steps to color correcting footage regardless of what type of editing situation that you might find yourself in.
- Normalize your footage as much as possible.
- Fix your saturation first.
- Then fix your brightness and contrast.
- Set your new white balance.
- Double check your skin tones.
Depending on your footage and editing experience, there are of course more steps which you could include for this process. However, for a basic guide to quickly balance and correct any regular footage needs, this process should set you on the right path for beginners.
Color correction vs. color grading video tutorial
Color saturation vs. color brightness
Another element which you should always consider in color correcting is the relationship between the color saturation and color brightness in your video. A lot of issues with poorly shot or colored footage comes from these two different elements.
In an ideal video setting, footage will be shot as flat and undersaturated as possible. If footage is oversaturated or too bright or dark, valuable information could be lost which can make your footage unusable.
It’s the goal of the video editor (or ideally a colorist) to correct any of these imbalances as a way to make sure that there is enough leeway to make color grading decisions later in the process.
Color correction before and after
Finally, to give you perhaps the best context, let’s take a look at this great video below which perfectly demonstrates the differences between color correcting and color grading before and after.
As you can see, at its core, these differences between these two terms are pretty simple and easy to explain in 30 seconds or less. Yet, just because you’ve learned the basics of color correcting doesn’t mean you’re quite ready to dive into grading — which could be considered the more creative and advanced end of the spectrum.
What is color grading?
Now, color grading is the next step, and this is where you can actually begin to create the aesthetic of your videos. But it’s important to note that this is an entirely optional process, especially if the film is meant to be as realistic as possible.
However, the right color grading will always help convey a visual tone or mood to heighten the narrative. For example, you might want to use higher contrast and darker tones for a horror film, or inverted colors for a sci-fi shootout, as depicted in this fun video showcasing some different grade effects:
What are LUTs in color grading?
Now, you might be asking yourself: how do you actually achieve some of the cool grades and effects as seen in the video above? While the answer will vary for each look and each editor, one trick we can share with you is that many of these grading looks are achieved by using LUTs.
What are LUTs you ask? Well, a LUT stands for “look-up table,” and is basically a quick cheat-sheet which filmmakers can use in camera, or more importantly, which editors can use in their edit to give their footage specific grade and look.
While we wouldn’t recommend just using LUTs for projects without understanding a bit more about how grading works, or how to tinker with your LUTs applied to your footage. In short, these tools can be huge timesavers and — with the right use — quite powerful for your projects.
Understanding color grading: how to color grade in 5 steps
Before you start dropping LUTs into all your video edits going forward though, let’s go over some tips for understanding how to color grade. Here are the five basic steps to color grading your video footage:
- Normalize your folate as much as possible.
- Follow the steps to correct your colors.
- Choose your desired look and style.
- Make your color adjustments in your editing program of choice.
- Double check skin tones and vectorscope.
Remember: color grading should really only be done after your video has been normalized and corrected so that you’re working off of footage that represents how it is meant to be seen. From there, the name of the game is painting (or grading) your footage to look now as you’d like for it to be seen.
Color grading before and after
Compared to color correcting which can also be done subtly and with nuance, color grading is often what one thinks about when color editing where the differences in the before and after examples can be quite extreme.
Case in point: these two vastly different frames from the example video from above.
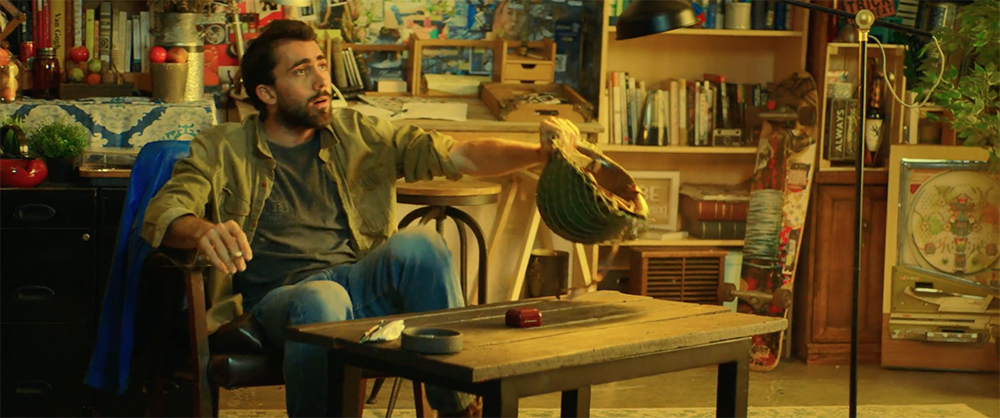

As you can see, while the first image certainly has been corrected and even perhaps graded a bit to display a warm room tone, it’s the second image that clearly looks like it comes from a completely different film.
With its undersaturated, gray film look, the second image is a great example of how a video editor can color grade a project to instantly evoke connotations of a different style and feel to bring the audience into a new scene.
How can I tell which my footage really needs?
This is truly a great question as it outlines a common misconception in the world of video editing. For many non-professionals, the terms color correcting and color grading are used interchangeably. For example, “let’s correct the footage to look more like a David Fincher movie,” or “we can just grade out these color mistakes in post.”
While it can be a great goal to help educate your clients as to what the actual differences between color correcting and color grading are (you could always send them this article), it often falls on the filmmaker or video editor to try to understand what the client actually wants.
In most circumstances, clients want footage that looks correct and cinematic, which means they want both color correcting and grading. And while there was a time years ago where these tasks might have been done by different professionals, with today’s modern digital editing technology, and the vast amount of educational resources and tutorials available to editors, both these feats can be performed by you on your computer.
What tools can I use for color grading or color correcting?
The real trick is to use the right tools. And believe me, there are a lot of tools available to you out there. However, in general I wouldn’t recommend attempting to do too much color editing on any of the free video editing platforms out there. Not because they’re not great programs for cutting together digital video content, but in many instances color editing does require some more in-depth tools and features.
Some great options for both color grading and color correcting are these popular video editing programs:
The first few options here are also basic NLE platforms which you can use for all of your regular video editing needs, however if you do desire to go even more in-depth into the world of color editing there are certainly plenty of programs intensely focused on just color.
FAQs
What’s the difference between color grading and color correction?
Color correcting is about getting footage back to how it should look. Color grading is about giving footage a new stylistic look based on a certain aesthetic — for example, the distinctive visual styles of filmmakers like Wes Anderson or Stanley Kubrick.
Define color grading.
Color grading is the process of editing film or video footage to have a new look to help make a video feel more vibrant and stylistic.
Define color correcting.
Color correcting is the process of editing film or video footage to fix any imbalances in the color so it can appear how the eye is meant to see it.
Do you color grade before or after editing?
Color grading is ideally done after an edit of a video is completely finished.
Putting it all together
Hopefully these basic definitions, guides, and tips and tricks have given you a good understanding as to what the key differences between color correcting and color grading really are. At the end of the day though, color editing in general will always be what you make of it.
Just because footage was corrected and graded in certain ways before doesn’t mean you have to exactly follow the same steps for your own projects. It’s helpful to learn the basics, but feel free to explore the fascinating world of color on your own.
Keep learning with Vimeo Video School.
